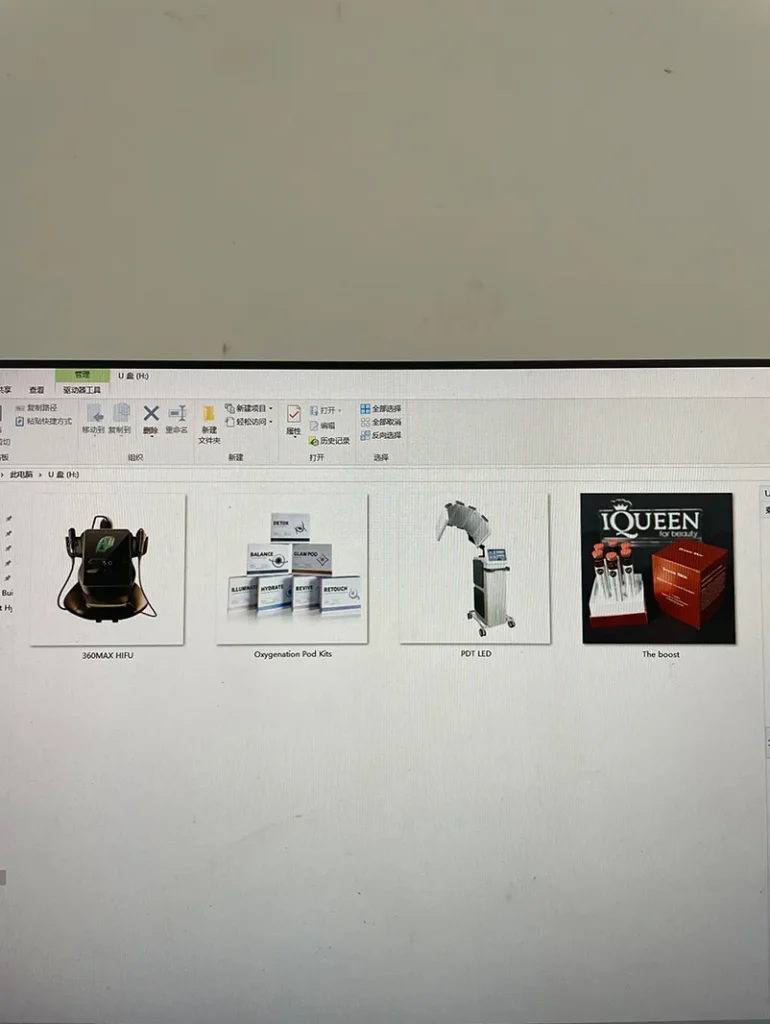
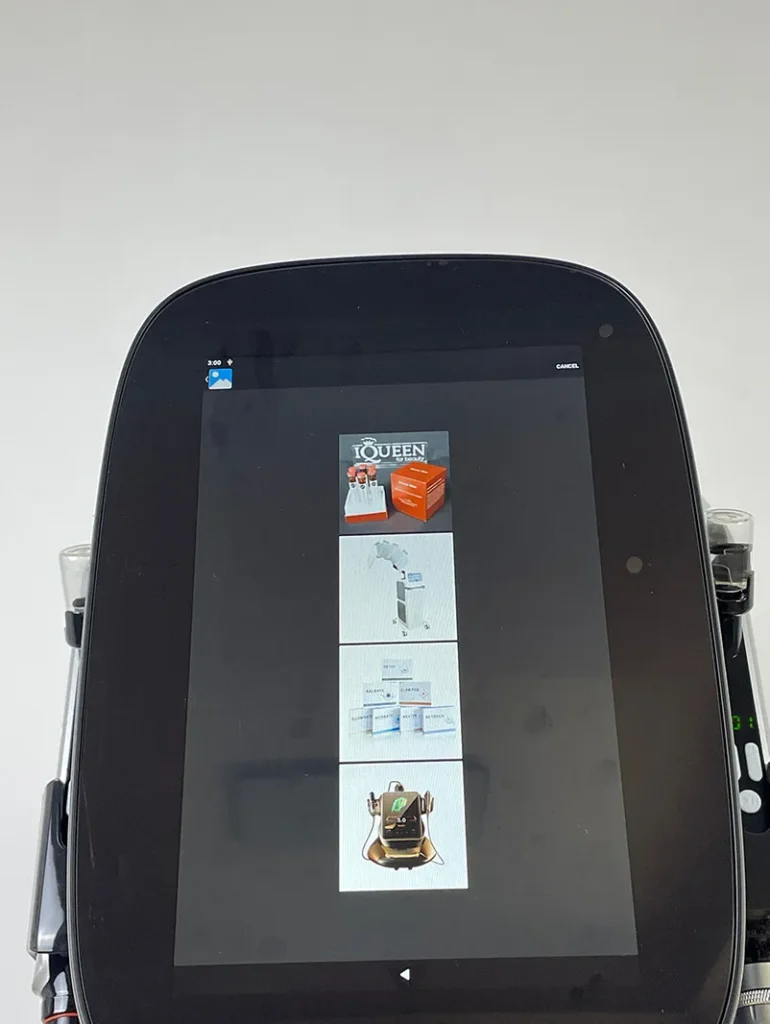
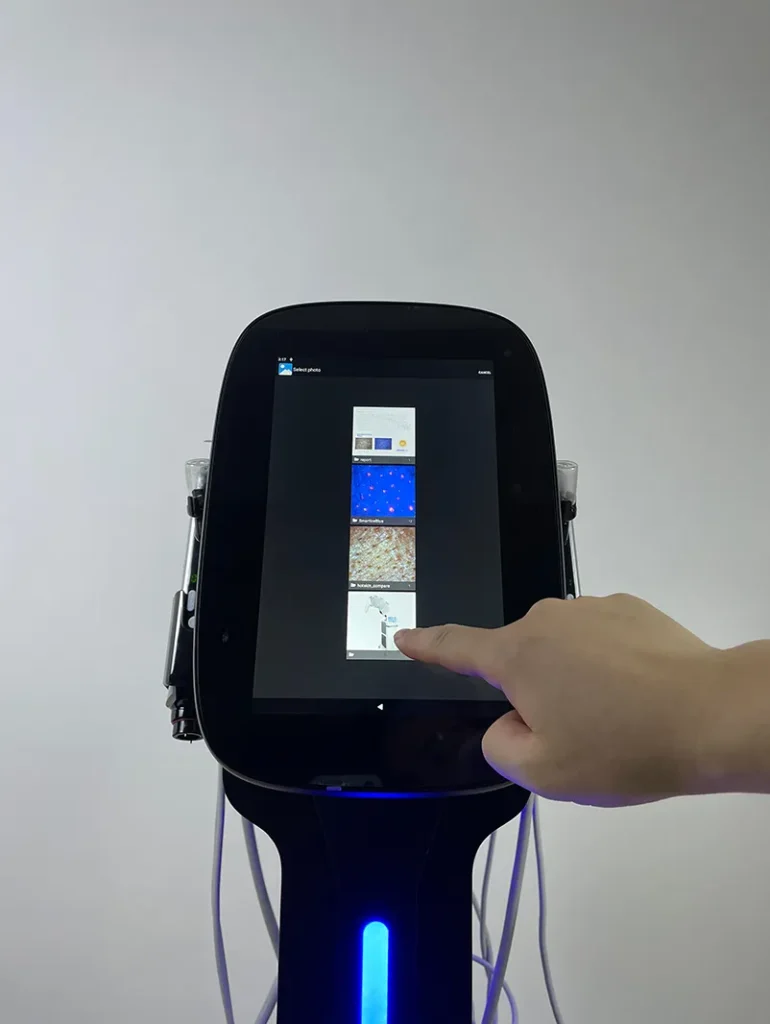
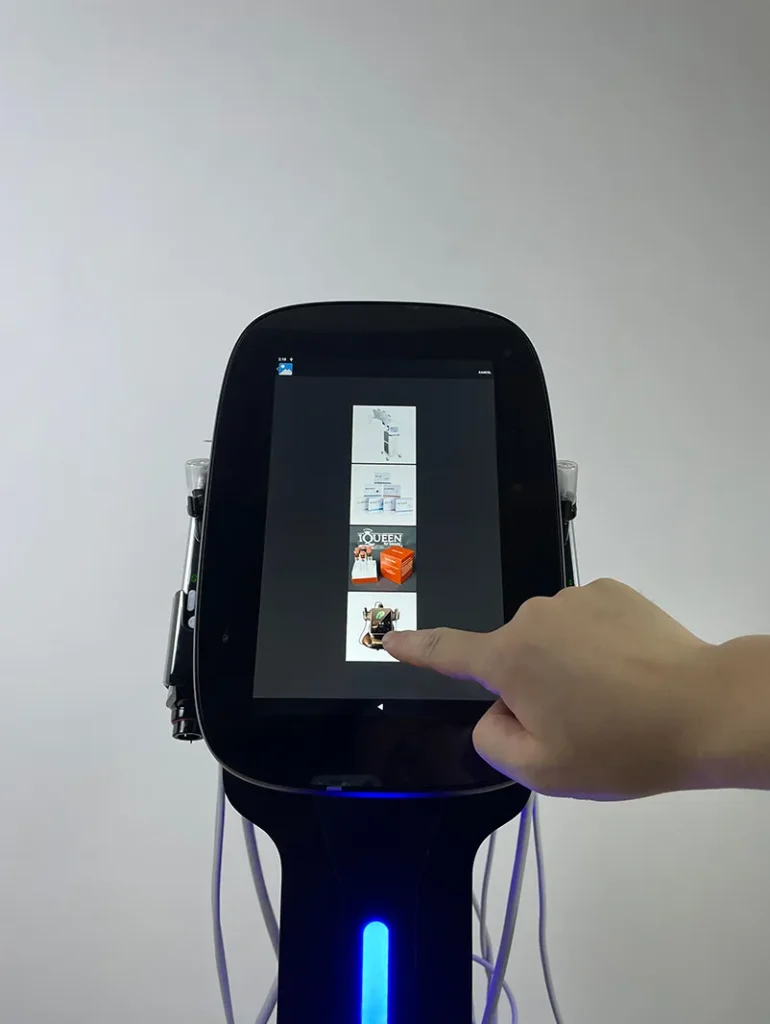
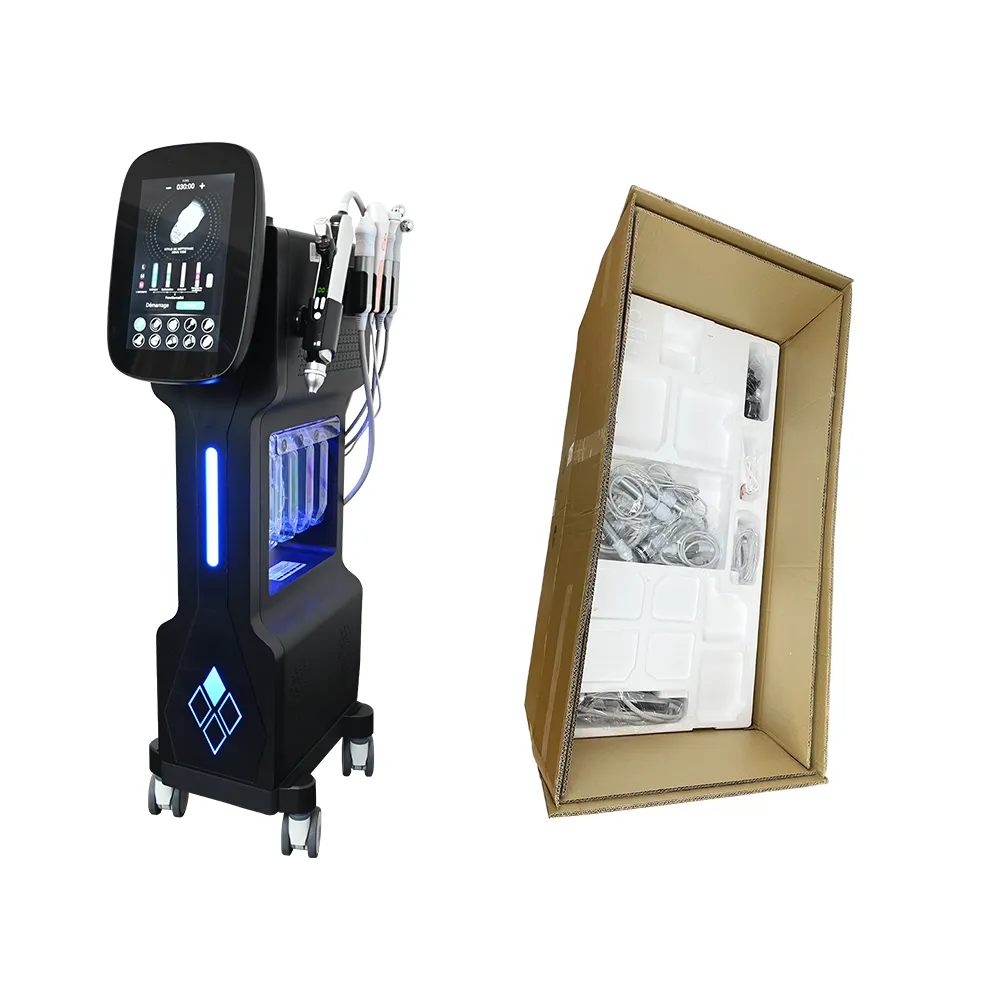
Import the images of recommended products into the USB flash drive.
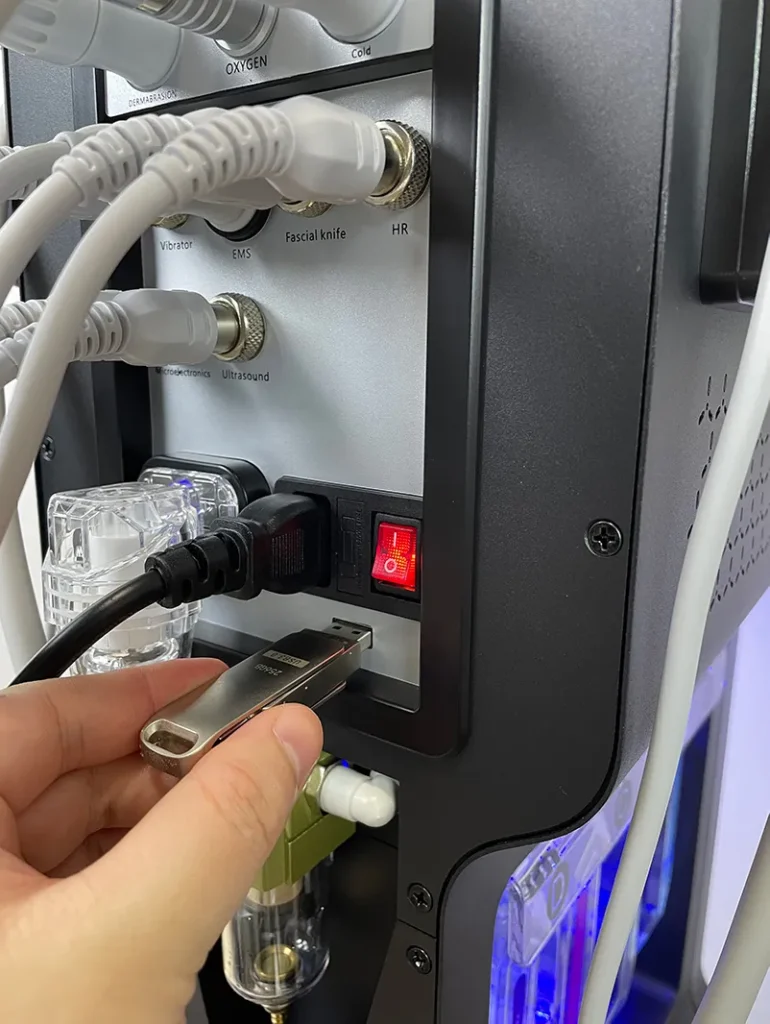
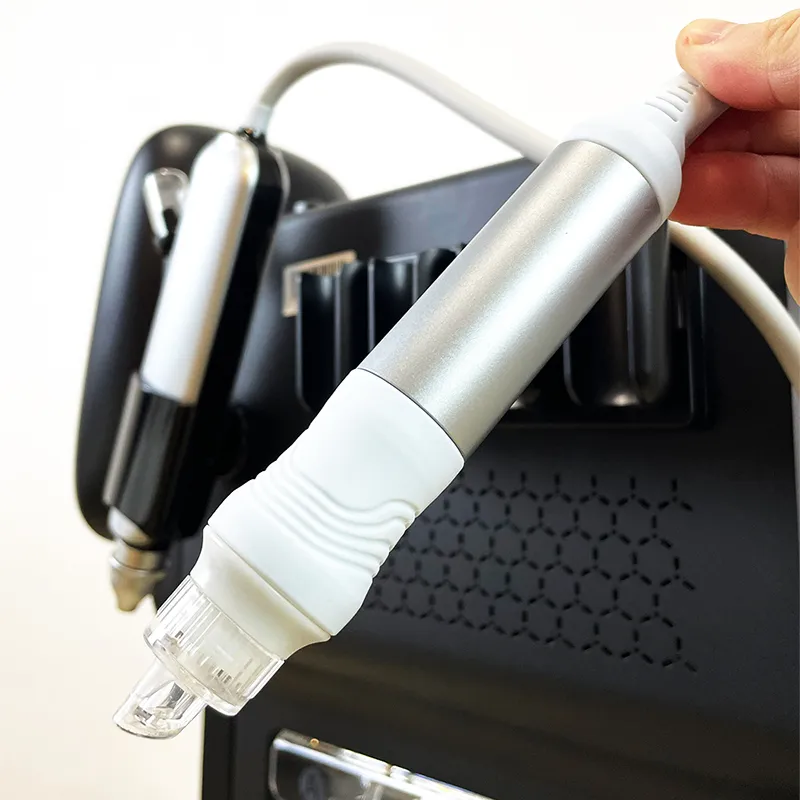
Plug the USB flash drive into the port of the skin analysis handle on the machine.
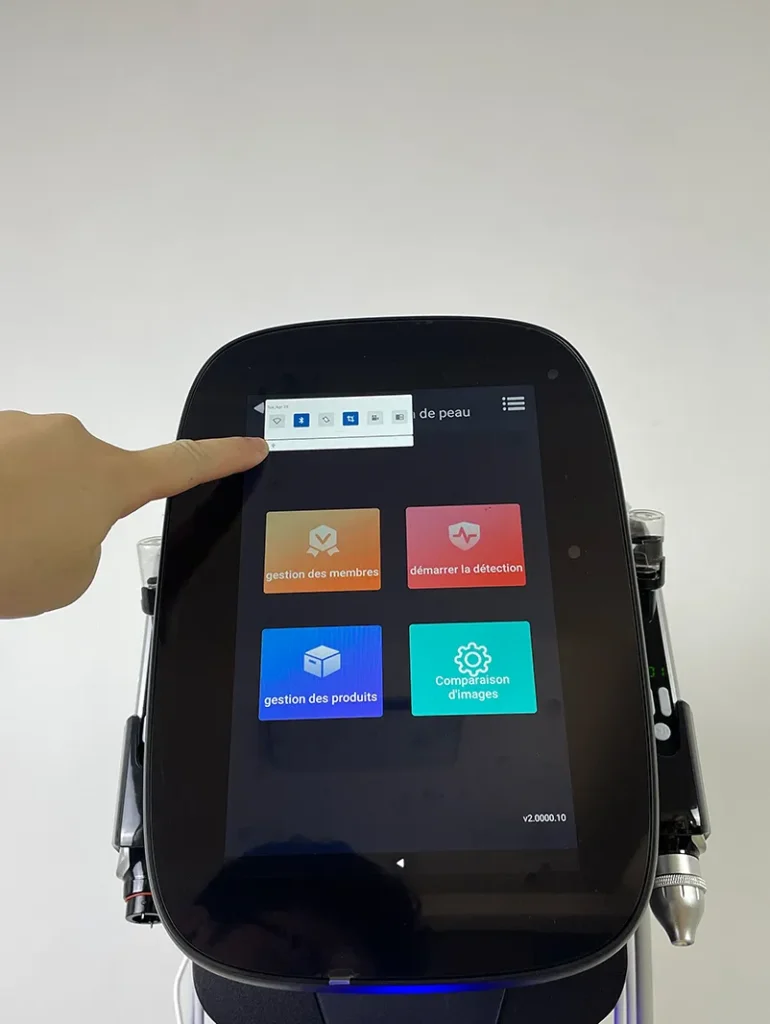
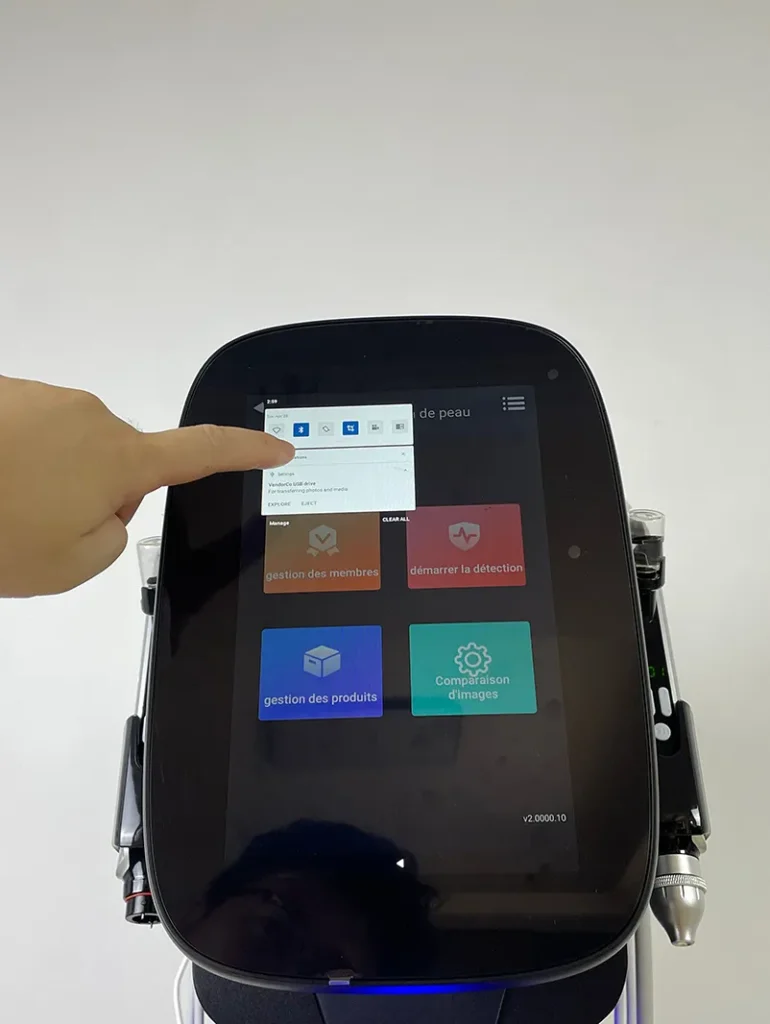
Swipe down from the top of the screen to open the drop-down menu.
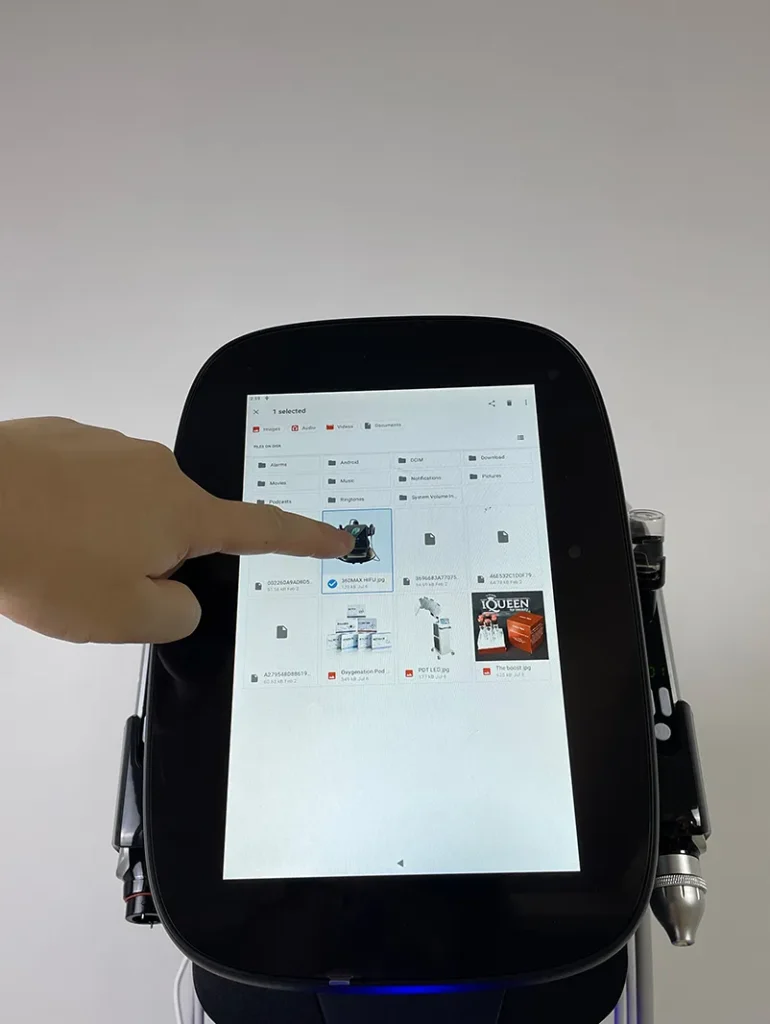
Select the USB flash drive in the drop-down menu to enter the USB editing page.
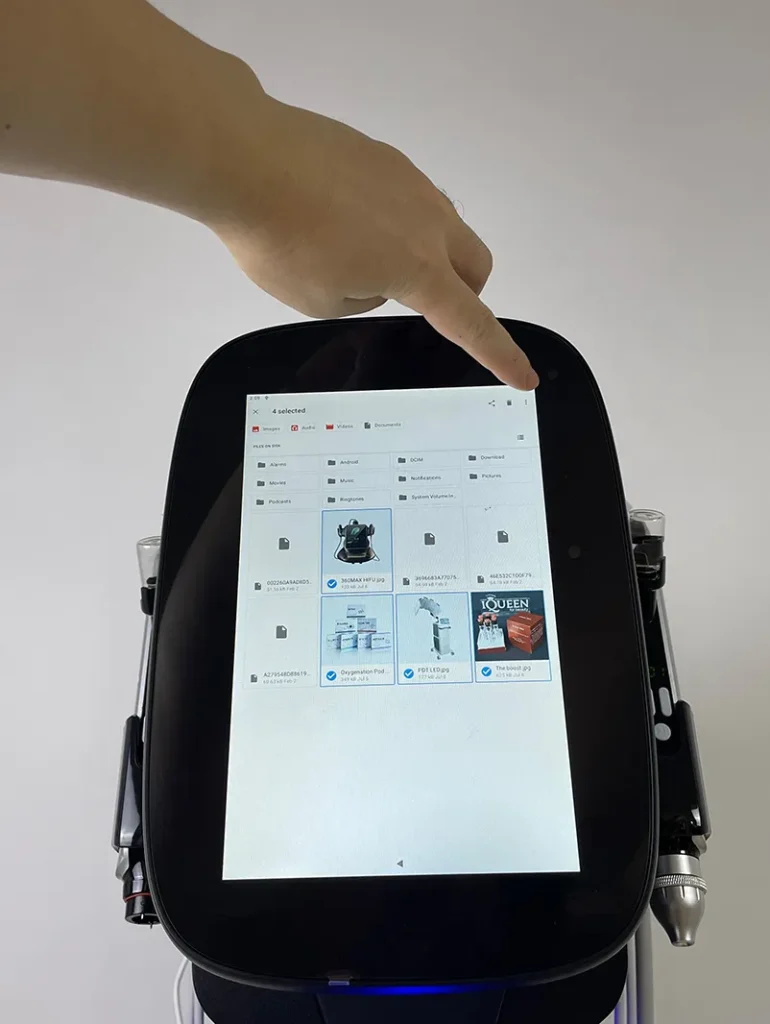
Select the corresponding images of recommended products in the folder on the USB flash drive.
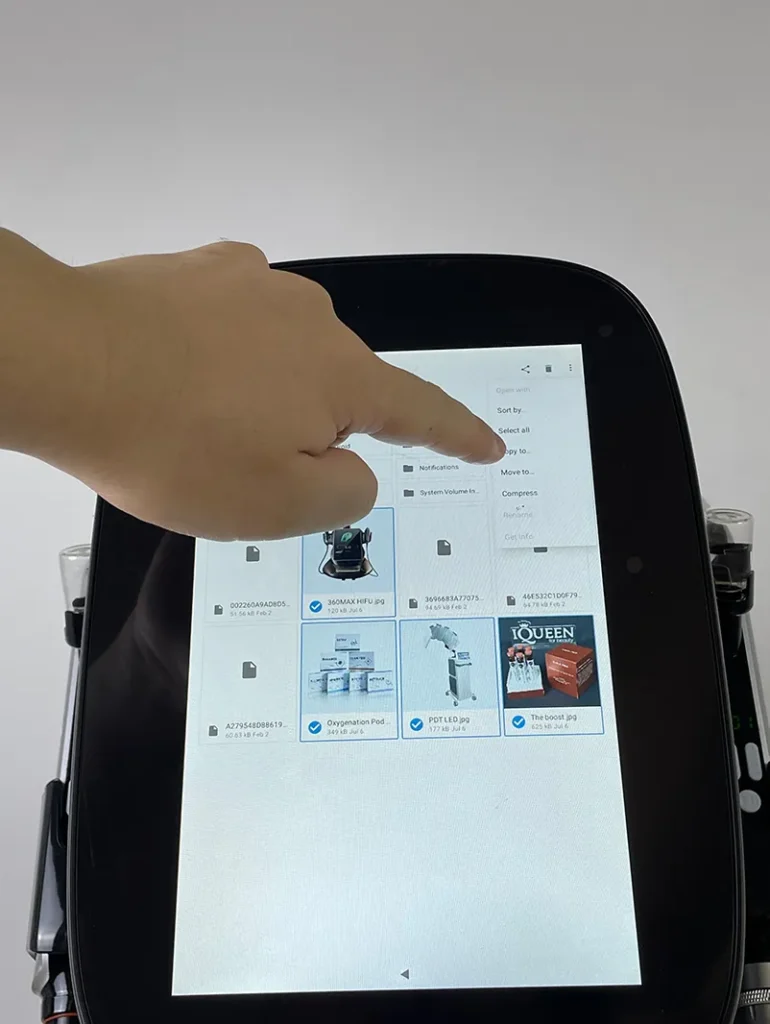
Tap the setting button at the top right corner of the touch screen.
Select the “copy to” button in the settings menu.
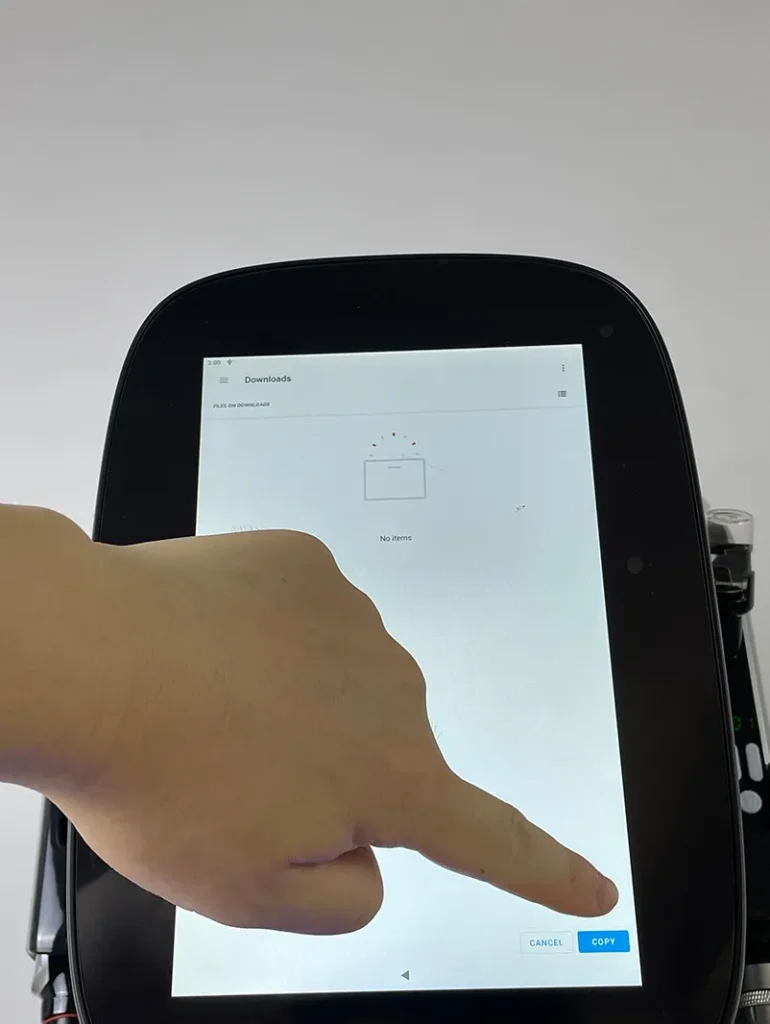
Tap the “copy” button at the bottom right of the touch screen.
Repeat the above operations to copy all required recommended product images into the machine memory.
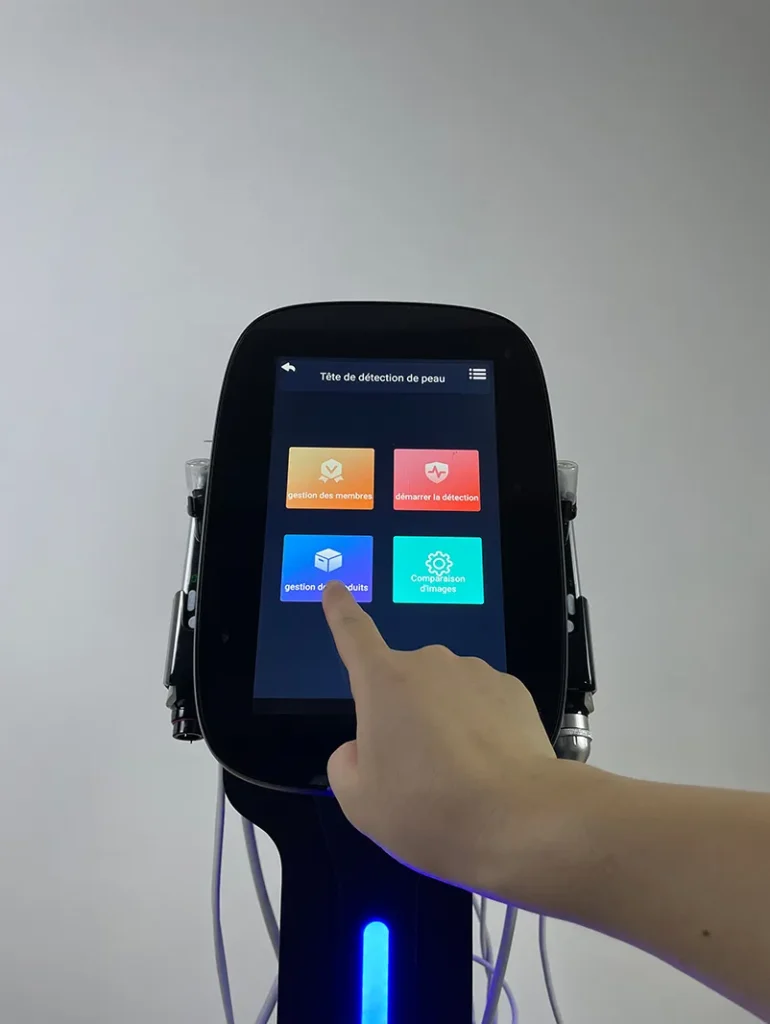
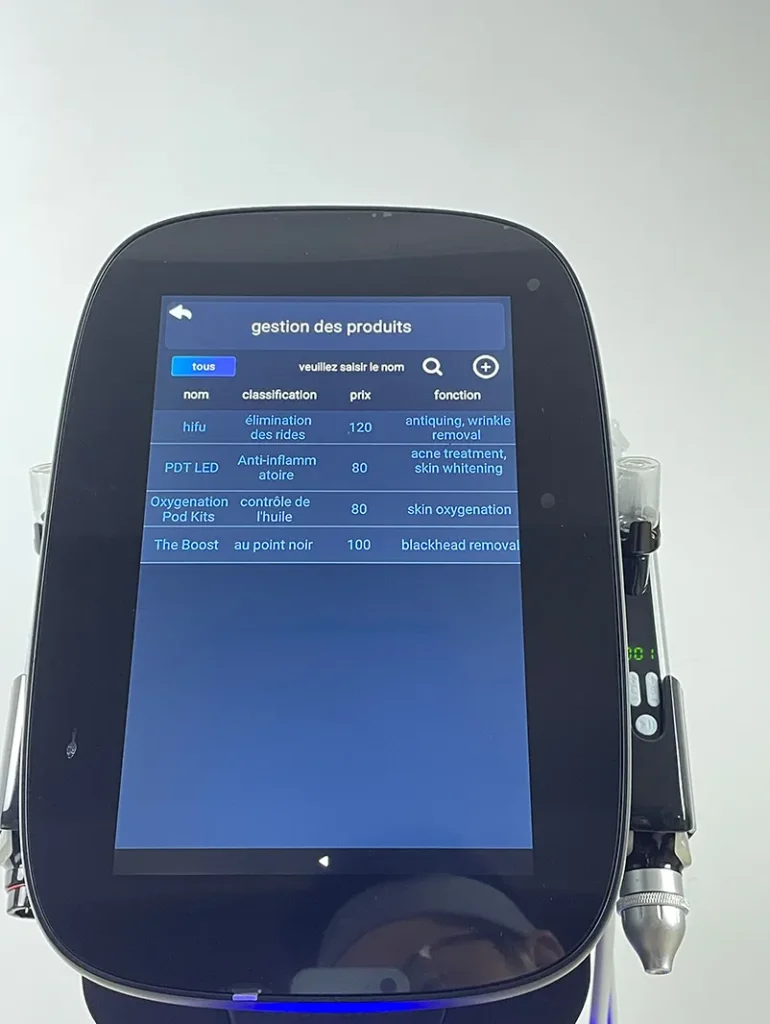
Return to the main interface of the Skin Analysis System and select “Product Management”.
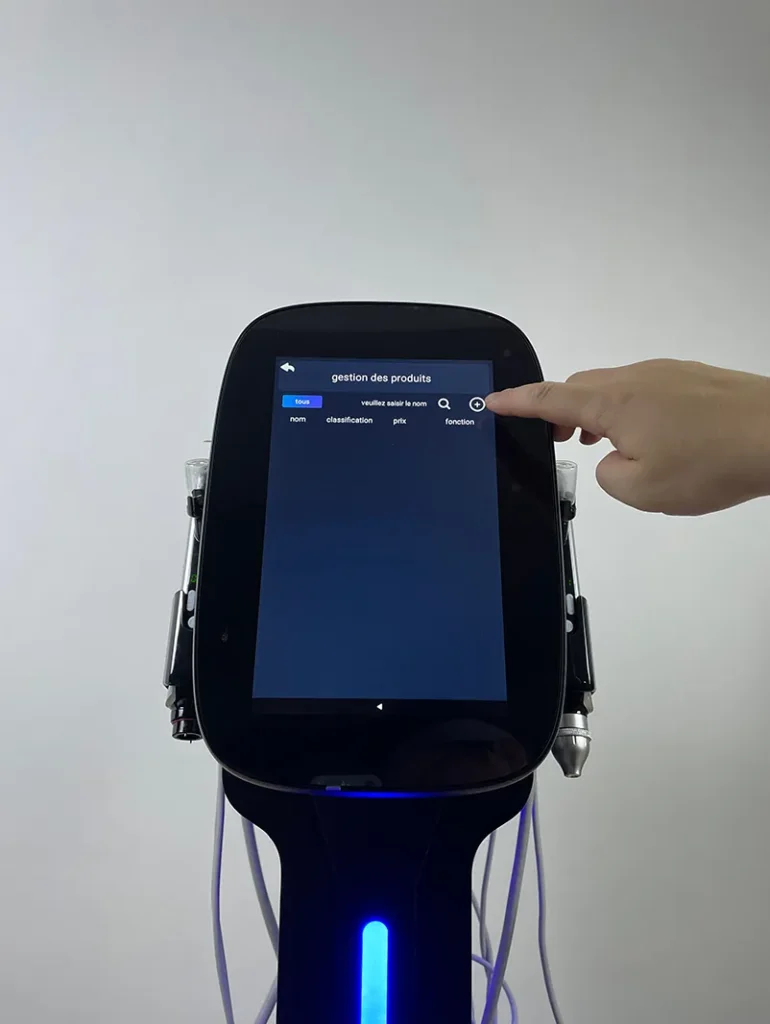
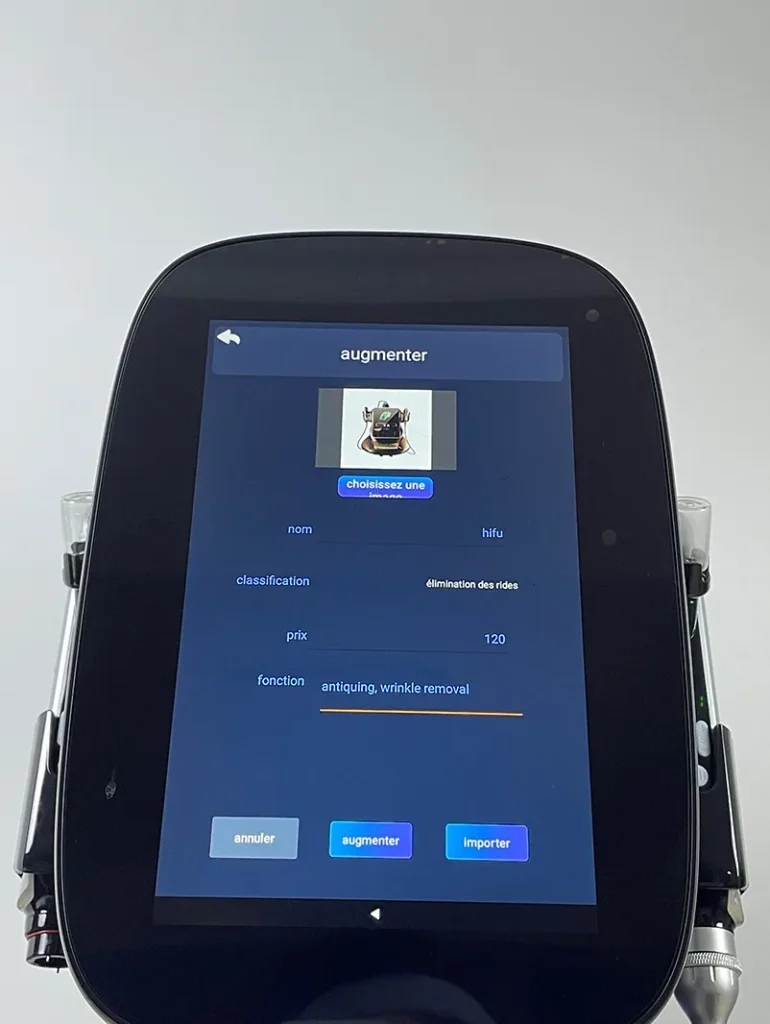
Tap the “+” icon to enter the interface for adding recommended products.
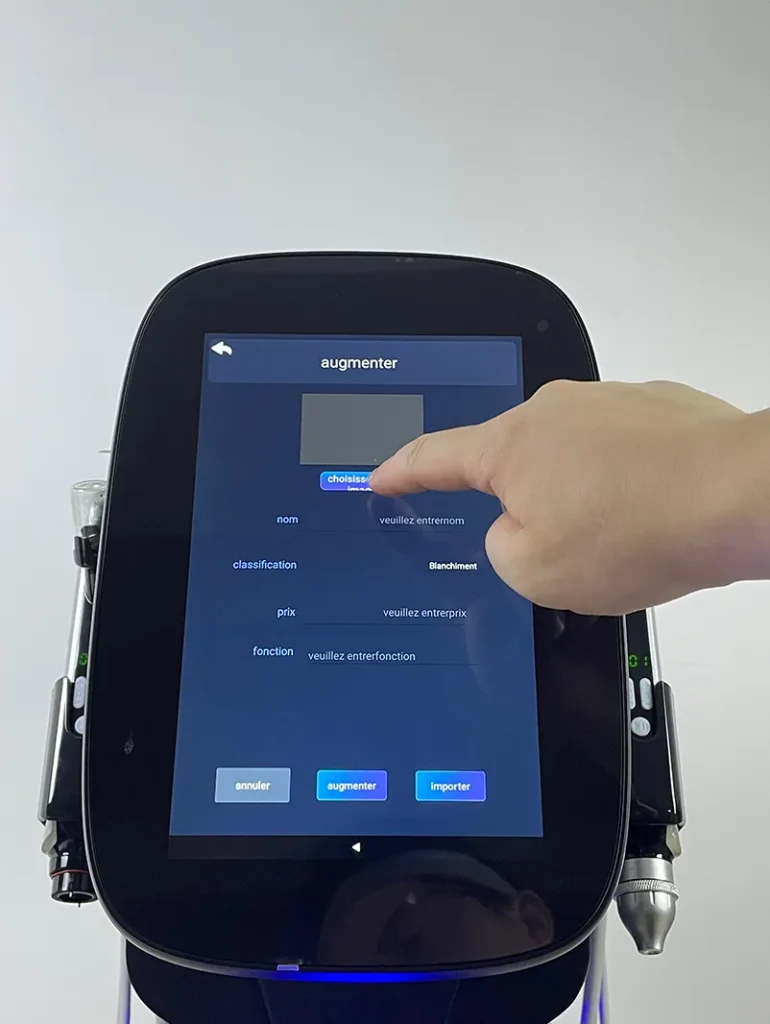
On the interface, tap the Select Image button to add product images.
Select the folder where the recommended product images are stored.
Select the recommended product image to be added.
Fill out complete information for the recommended product.
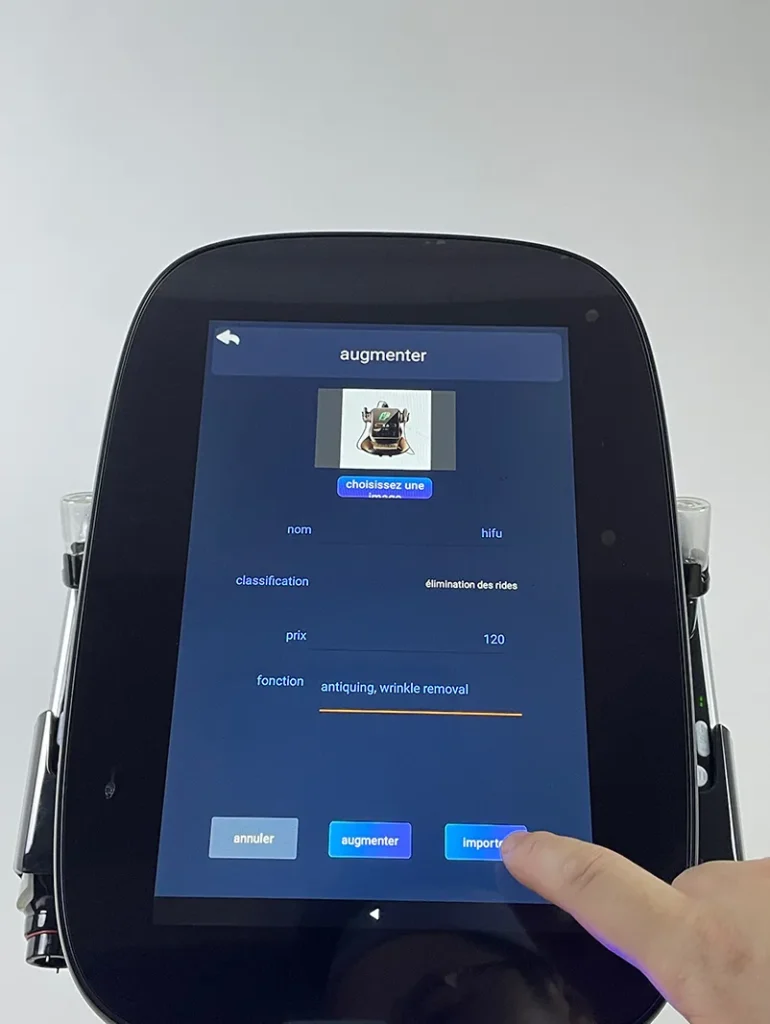
Tap “Import” to complete adding the recommended product.
Repeat previous operations to add multiple recommended products.
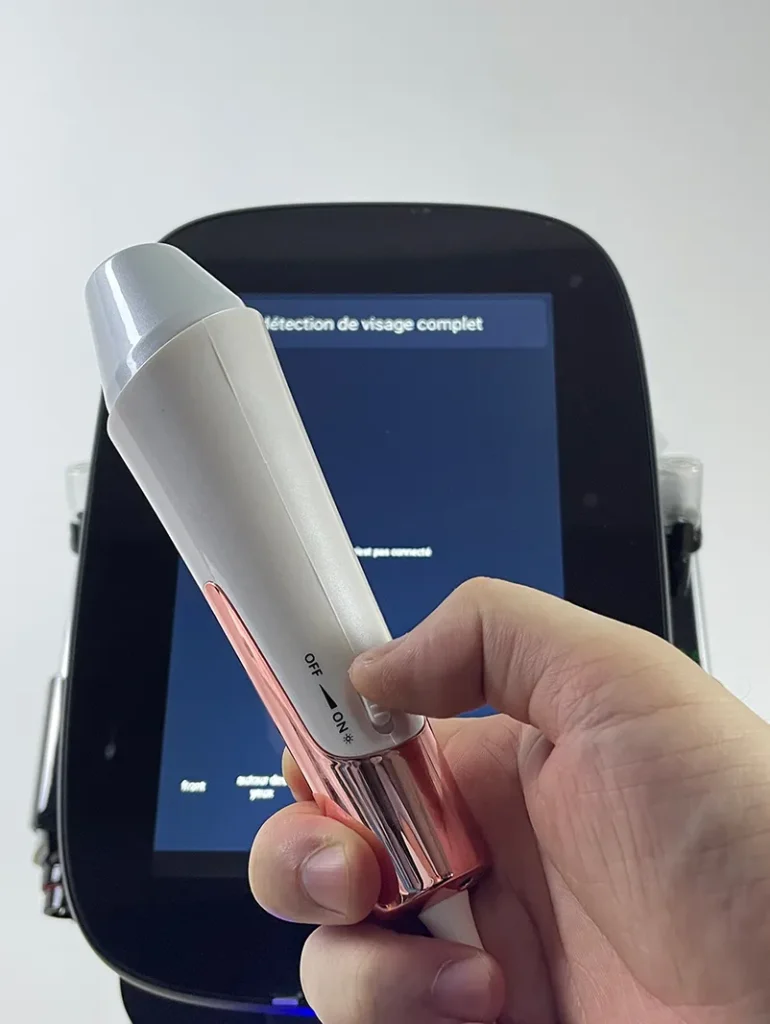
Turn on the switch of the skin analysis handpiece.
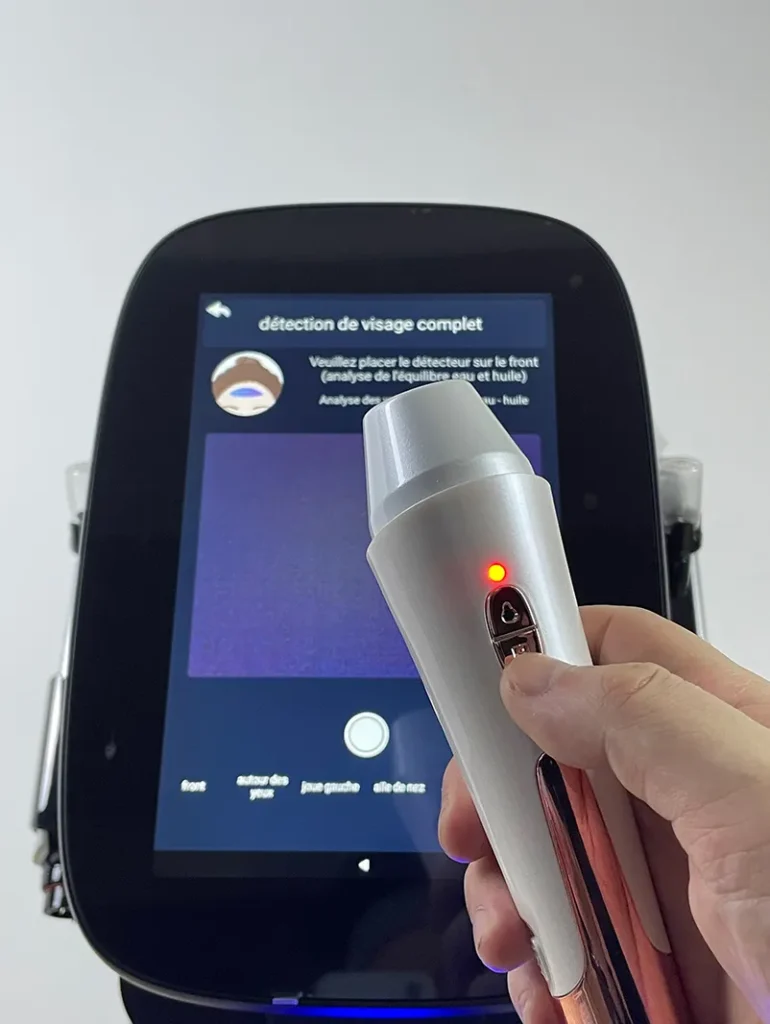
Identify the capture button on the skin analysis handpiece.
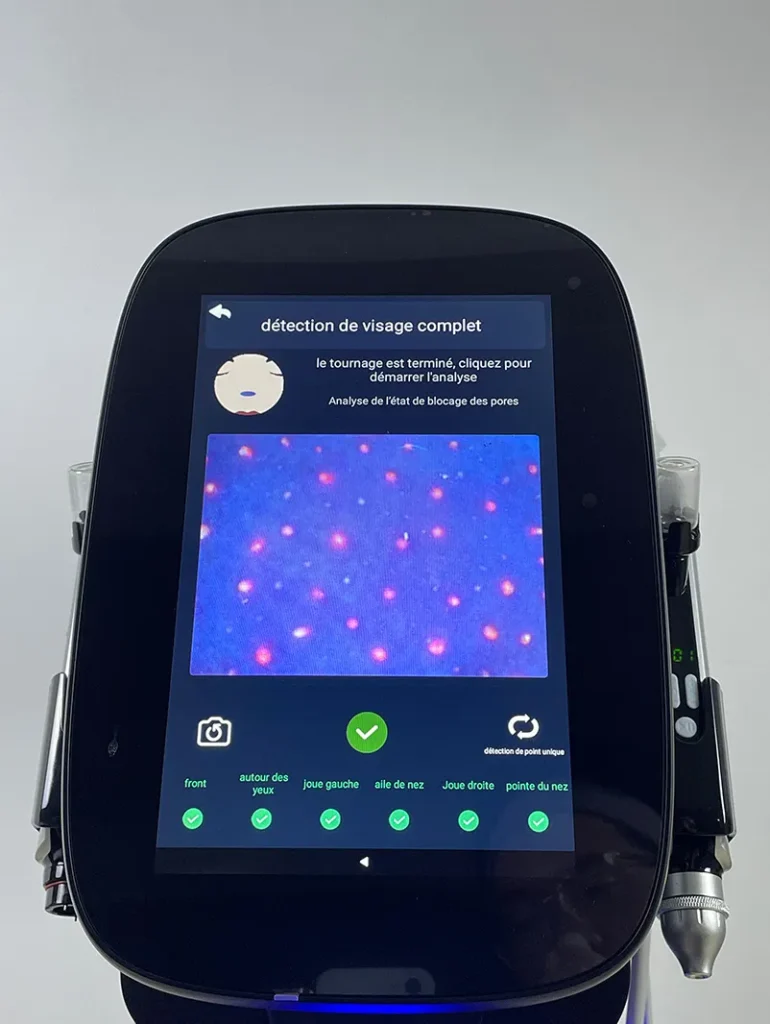
Capture images of the forehead following the instructions.
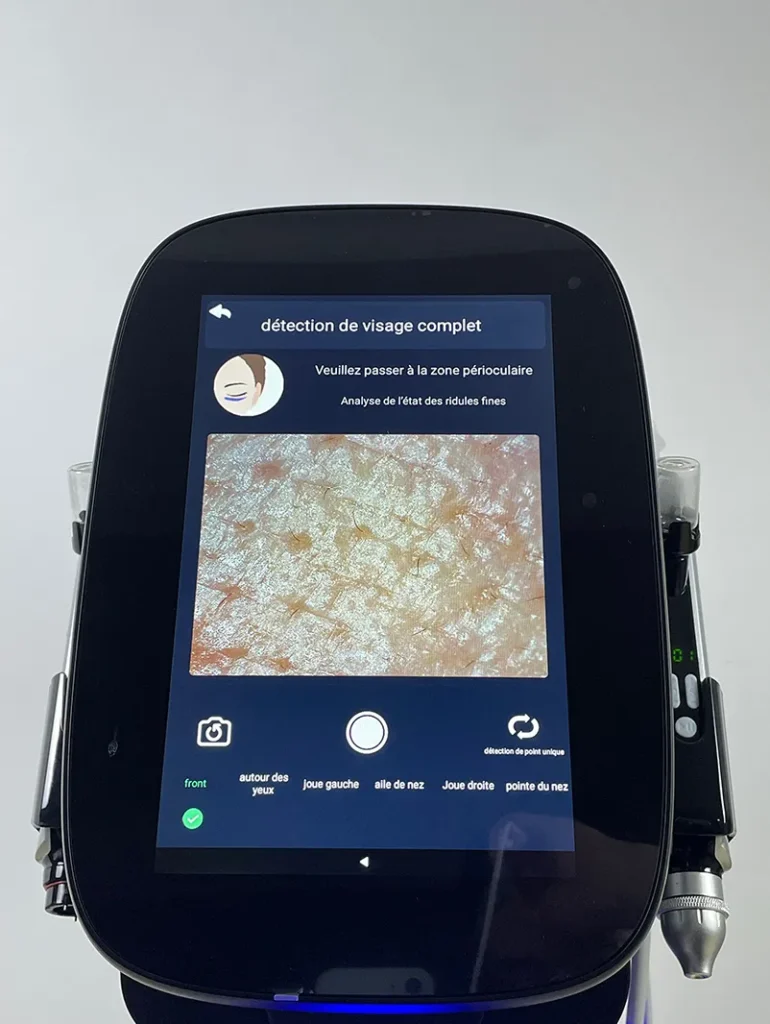
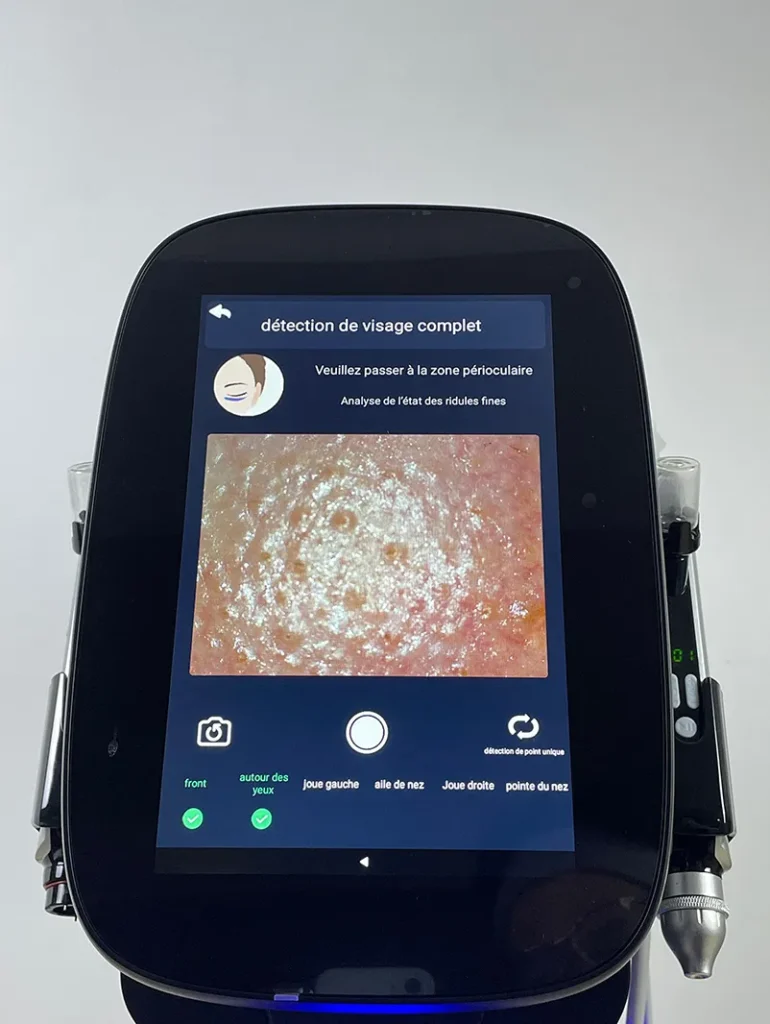
Capture images of the eye area following the instructions.
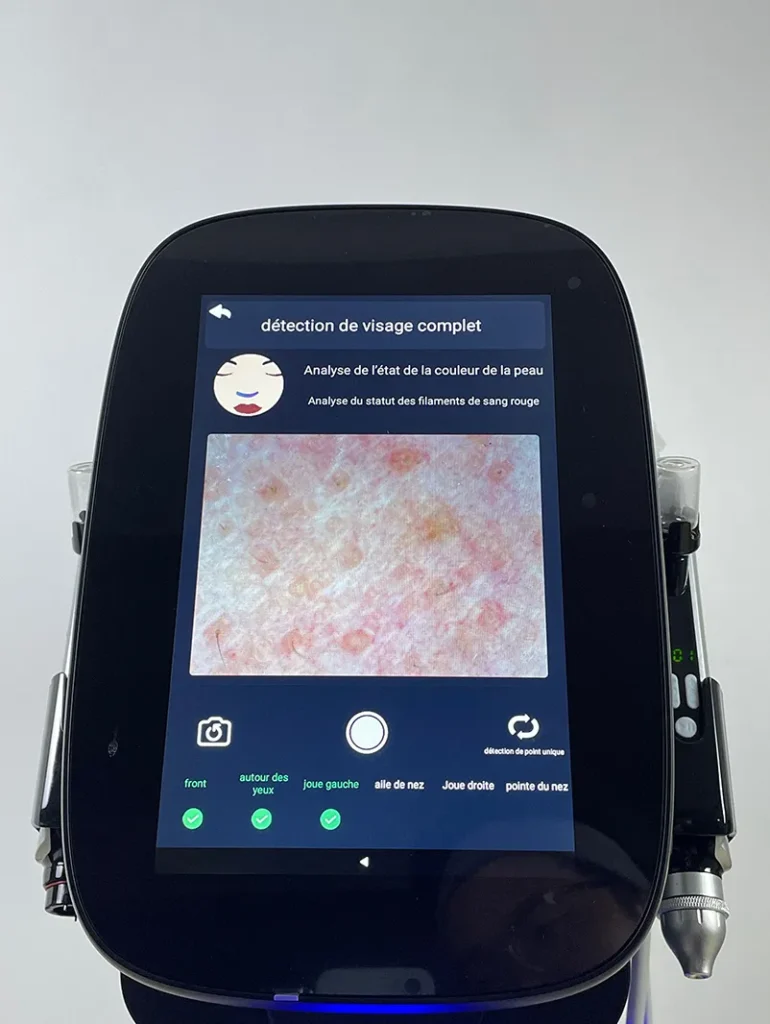
Capture images of the left cheek following the instructions.
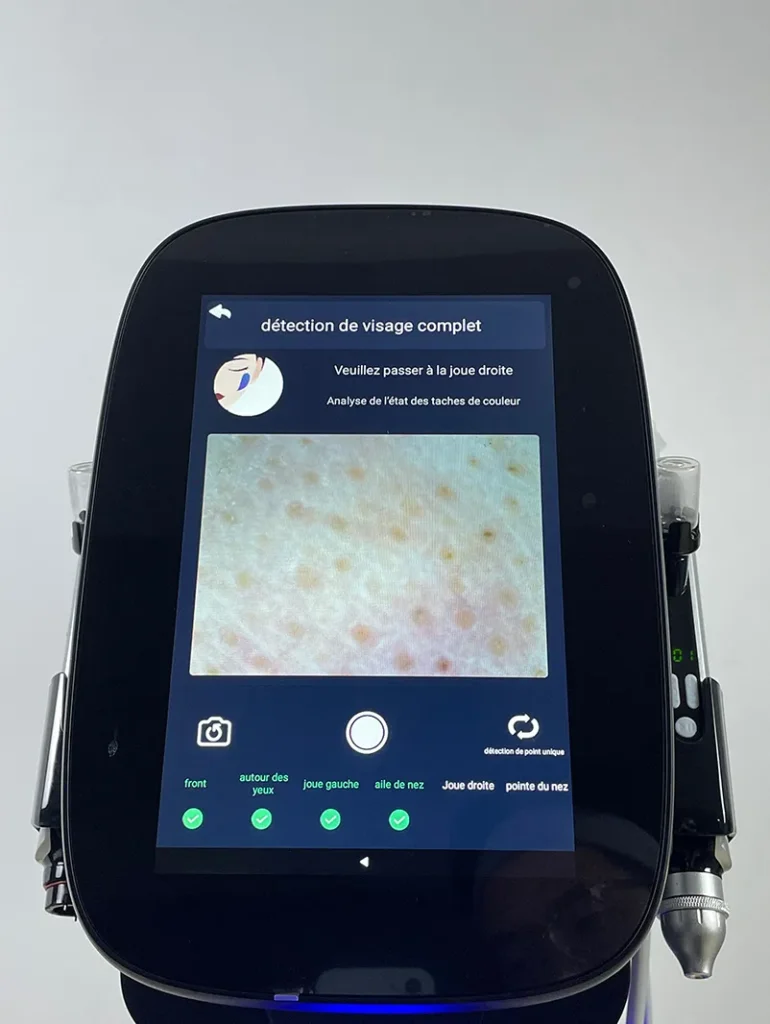
Capture images of the nasal wings following the instructions.
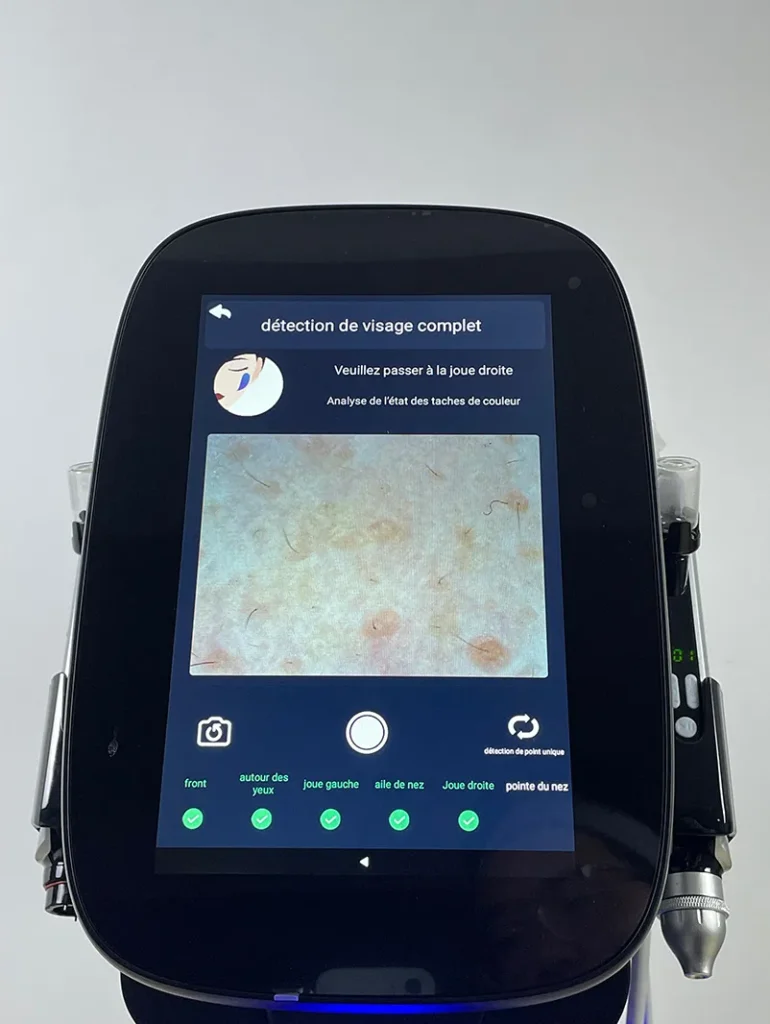
Capture images of the right cheek following the instructions.
Capture images of the nasal tip following the instructions.
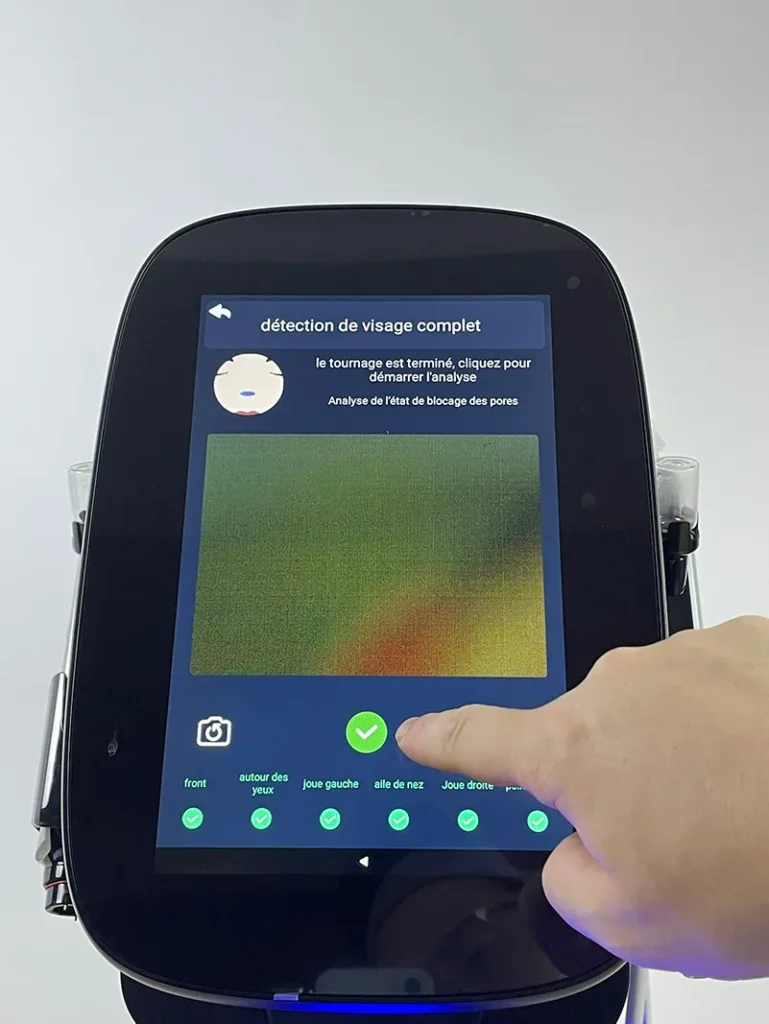
Tap the green tick mark to complete image capture.
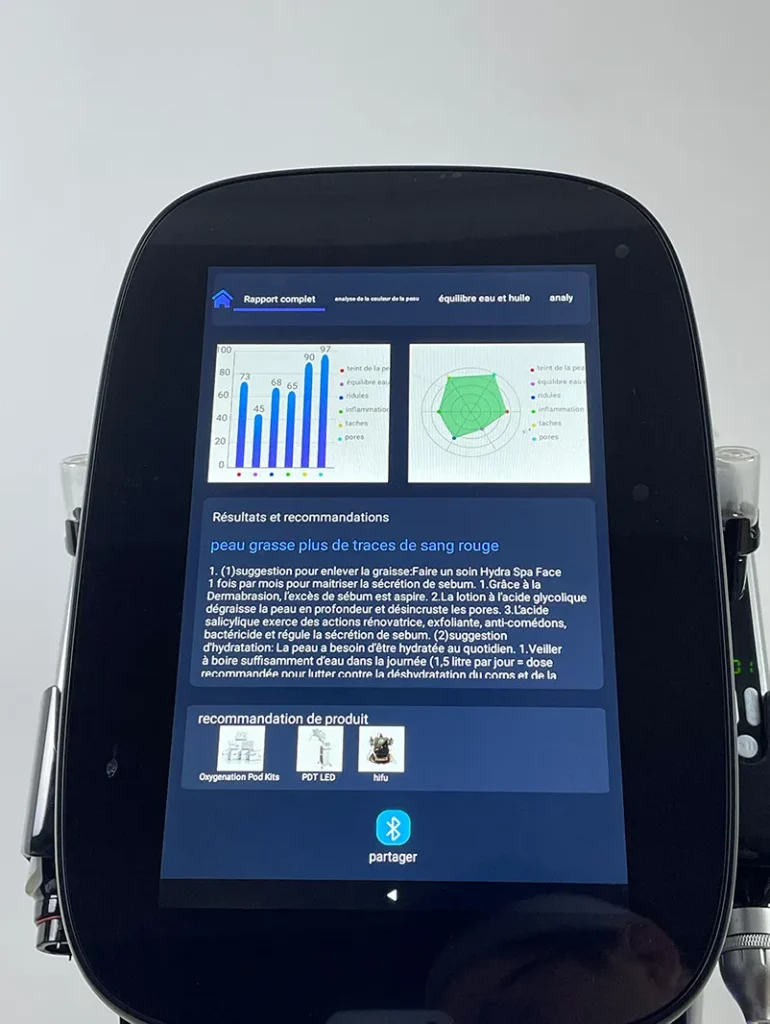
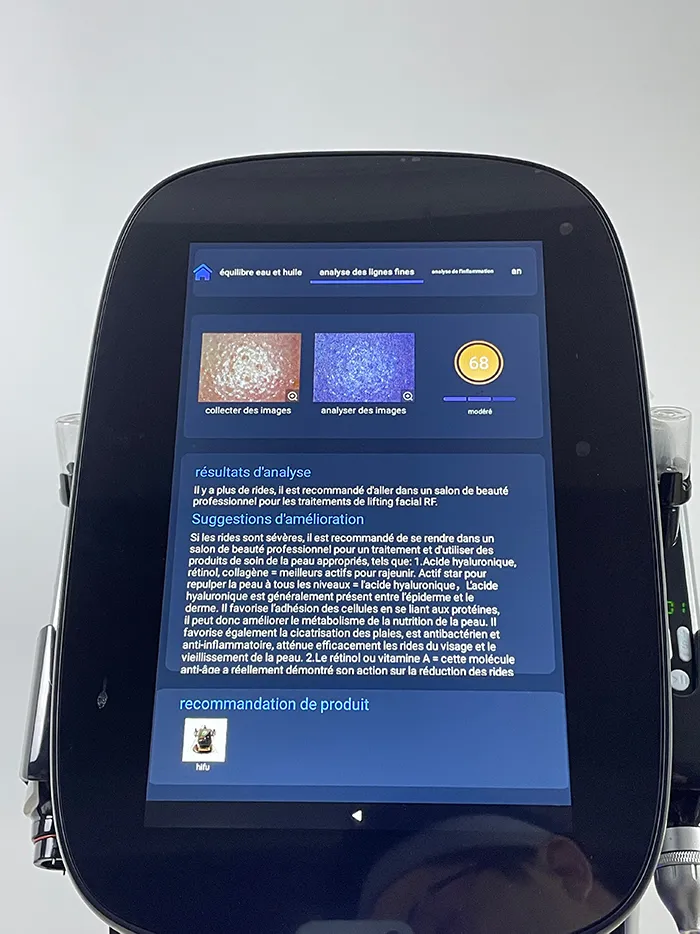
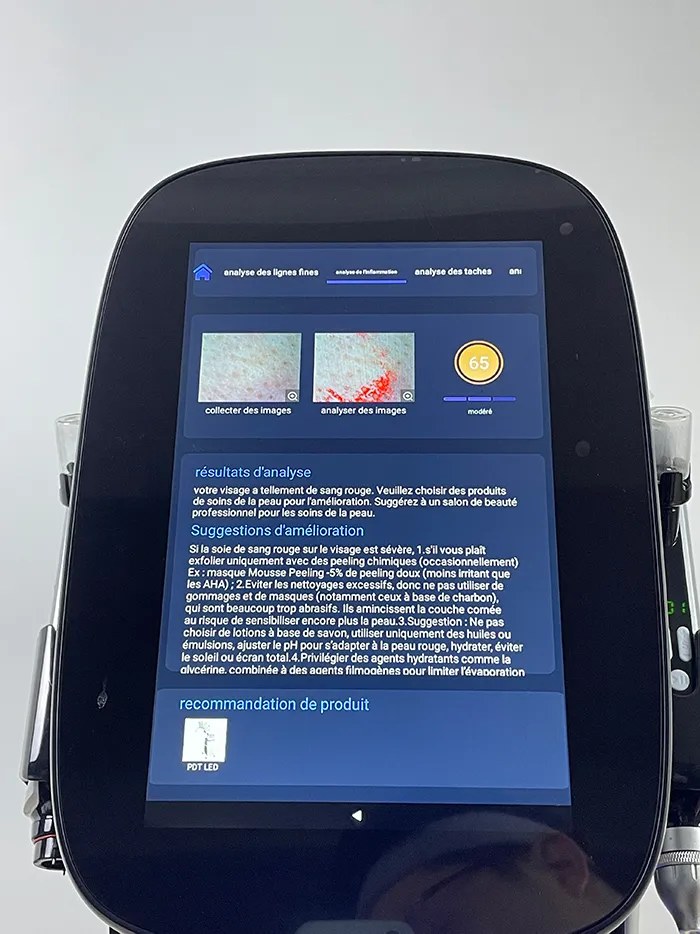
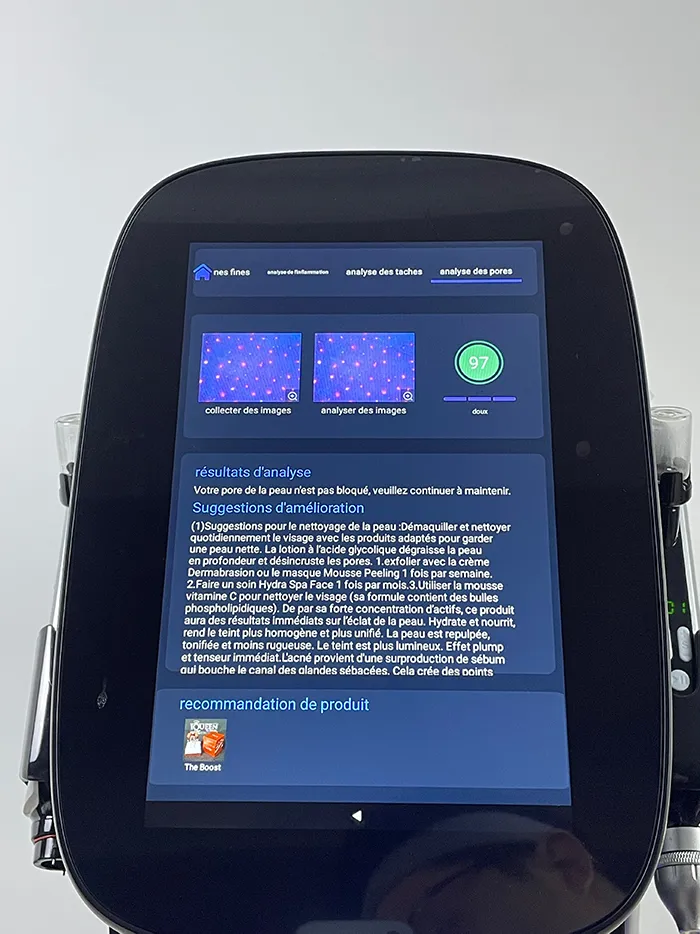
Display the complete report, including scores, analysis and product recommendations.
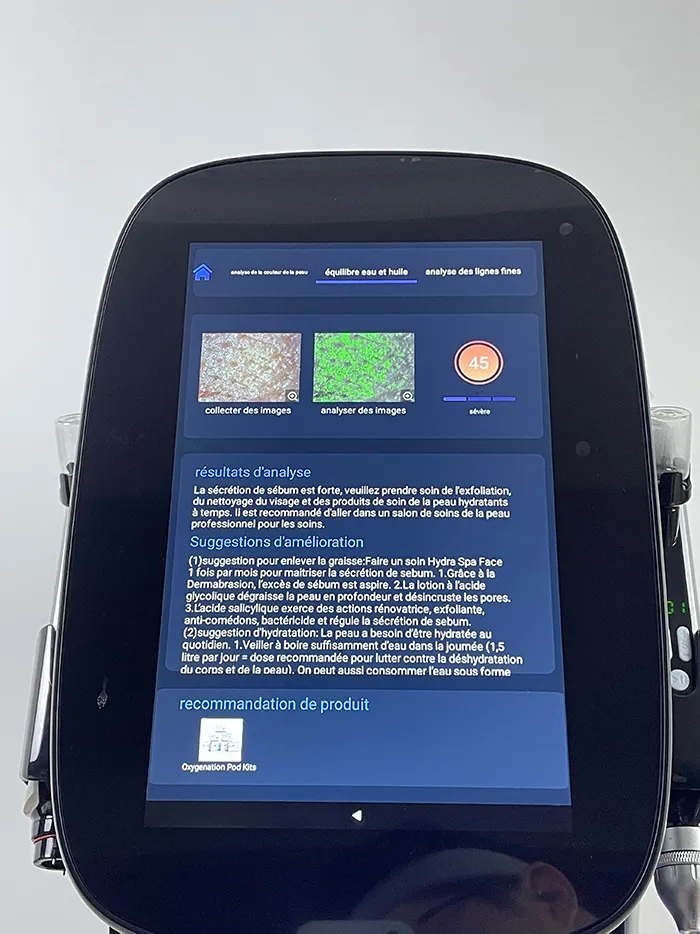
Display the skin moisture and oil balance report.
Display the fine wrinkles analysis report.
Display the skin inflammation analysis report.
Display the skin pore analysis report.